In this guide, we walk through how to connect Redis Object Cache to a WordPress website. Redis Object Cache is a technology used primarily with WordPress to speed up your site's performance — resulting in faster page loads, reduced database load, and a better experience for your visitors.
Enable the Redis module
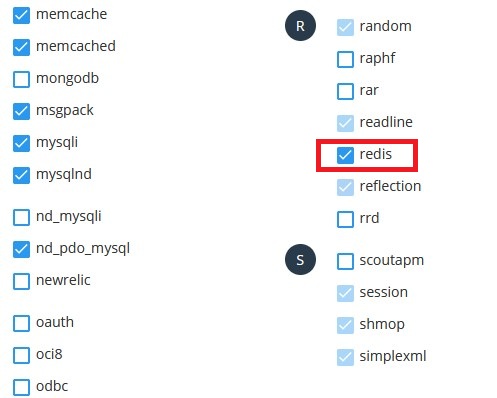
Redis is enabled under the PHP settings in the control panel (DirectAdmin). Go to Extra Features > Select PHP version > Tick "redis" as shown in the image.
Find the socket path for the wp-config file
Click "Redis" under "Advanced Features" in the control panel to find the "Path to redis socket file". In our example, the path looks like this (note that this is just an example and should not be used for your own site):
/home/mittfina/.redis/redis.sockIn our example, the following code should be added to the wp-config file (below the other define lines):
define( 'WP_REDIS_SCHEME', 'unix' );
define( 'WP_REDIS_PATH', '/home/mittfina/.redis/redis.sock' );
Note: Use your own code for your site, as the "WP_REDIS_PATH" value differs for each account.
Install Redis Object Cache in WordPress
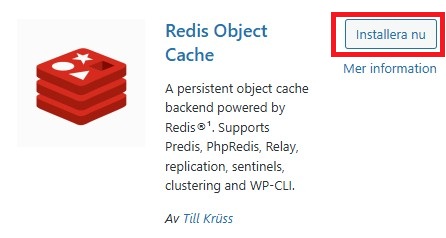
Log in to WordPress > click Plugins > Add new plugin > Search for "Redis Object Cache" > Install now.
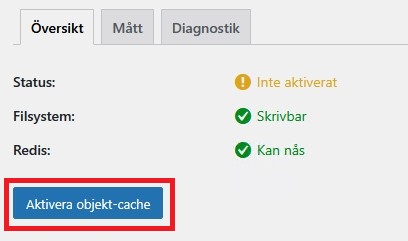
Once the Redis Object Cache plugin has been activated, click "Enable object cache". When active, the status should show "Reachable" (green).
Check the connection
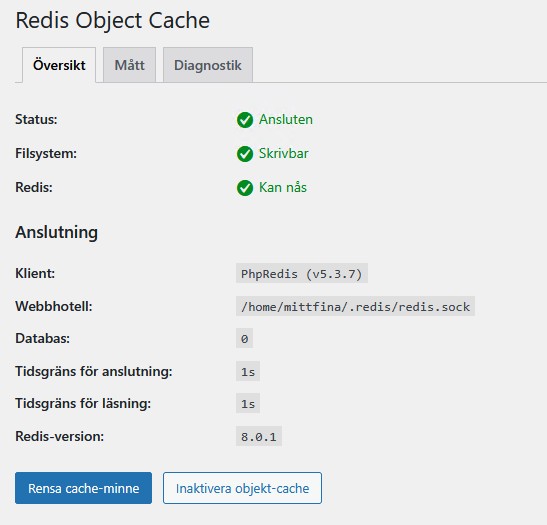
After installation, confirm that Redis Object Cache is connected — this is shown under the "Overview" and "Connection" tabs.