DNS records control where your domain points: which server displays your website, where email is delivered, and which services are allowed to send email on your behalf. If your domain is registered with us, DNS is included.
Open DNS for a domain
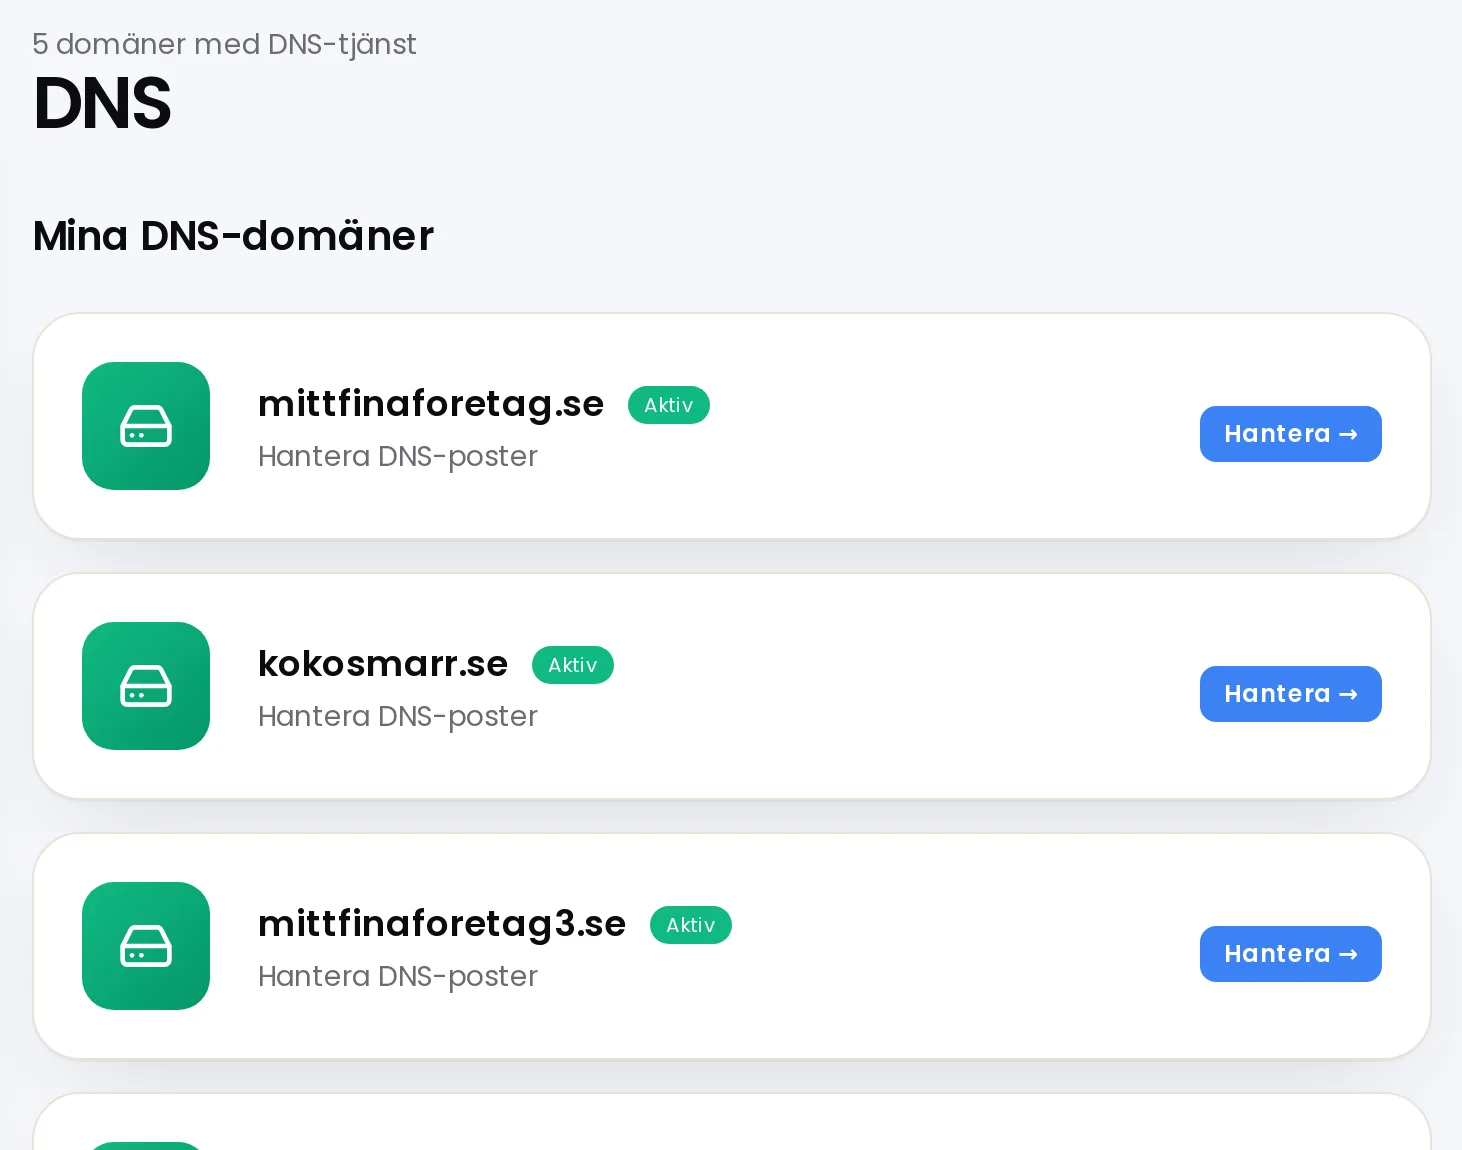
Click DNS in the menu.
Click Manage next to the domain.
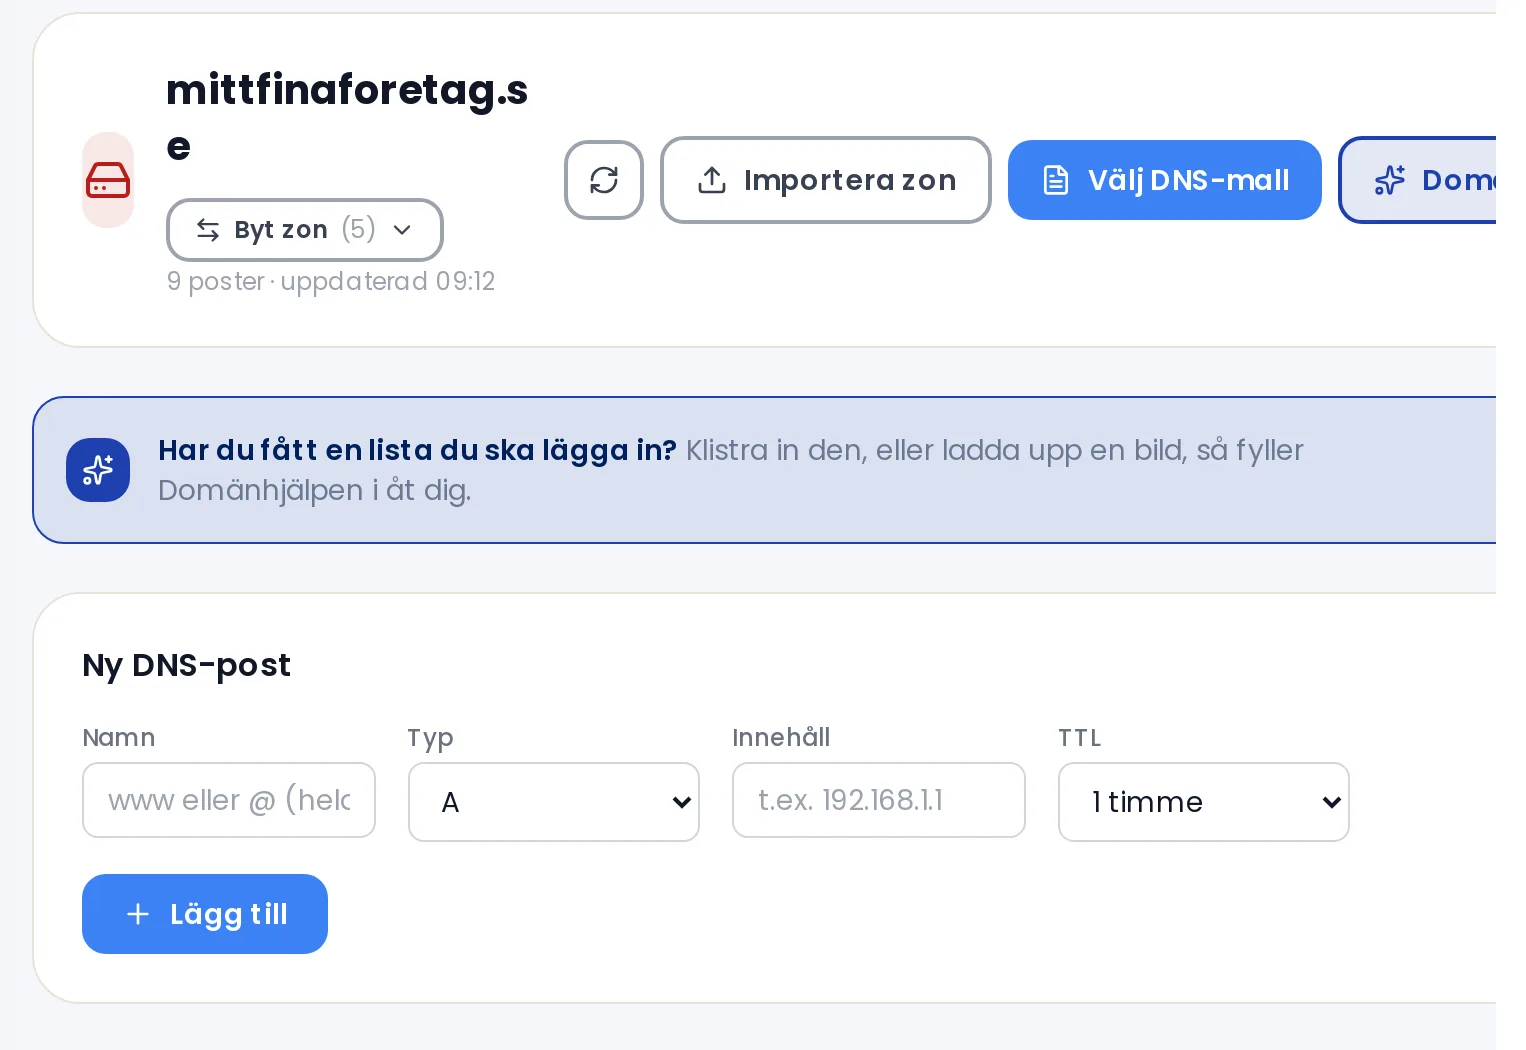
If you have several domains, you can switch between them quickly using Switch zone below the domain name.
The toolbar is at the top, the form for adding new records is in the middle, and the zone's records are at the bottom.
Adding a record
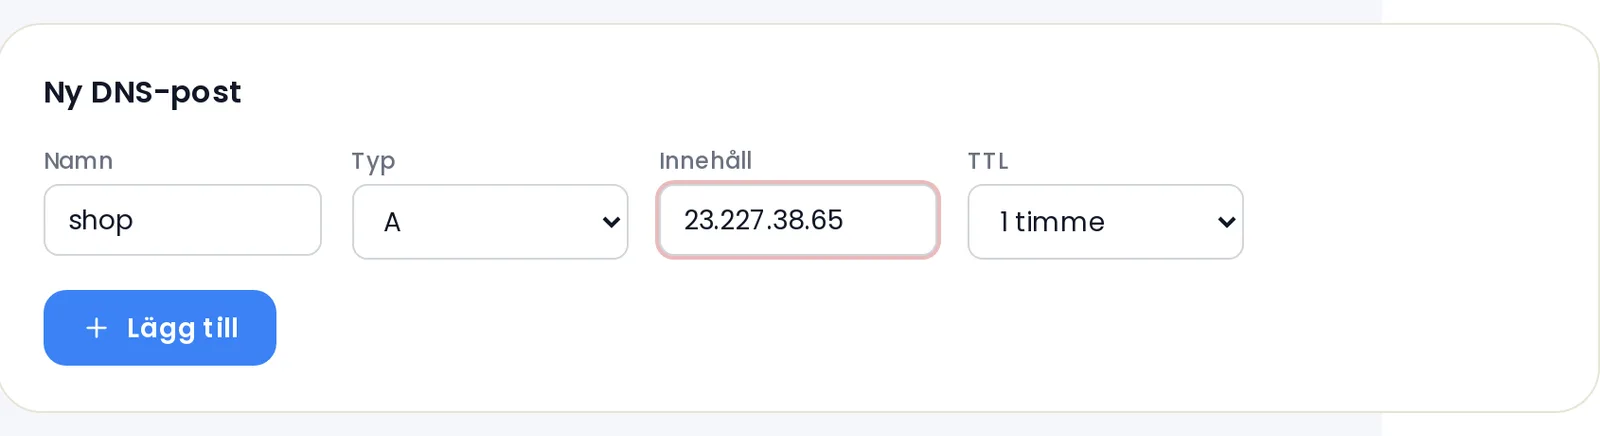
Enter a Name under New DNS record, for example www. Use @ for the domain itself.
Select the Type, for example A, CNAME, MX, or TXT.
Enter the Content, for example an IP address or a domain name.
Choose the TTL. The default is one hour, which is usually fine.
For MX and SRV records, also fill in the Priority. A lower number means higher priority.
Click Add.
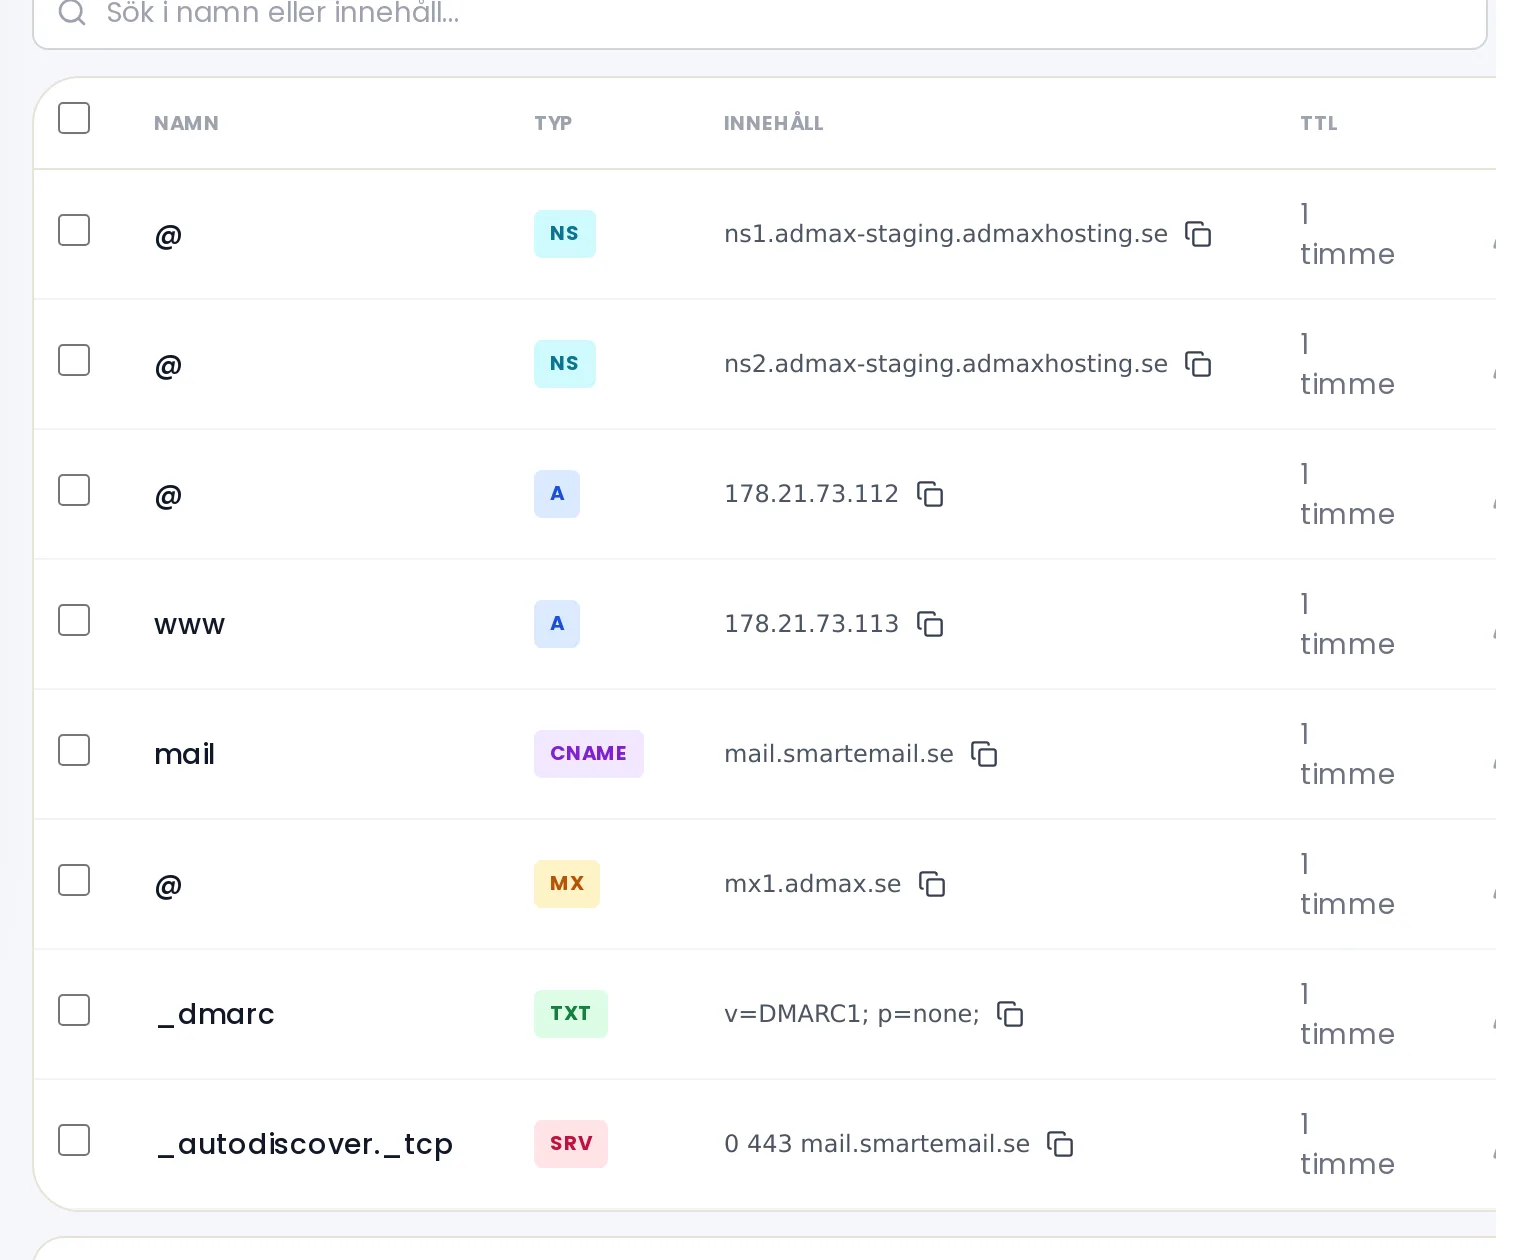
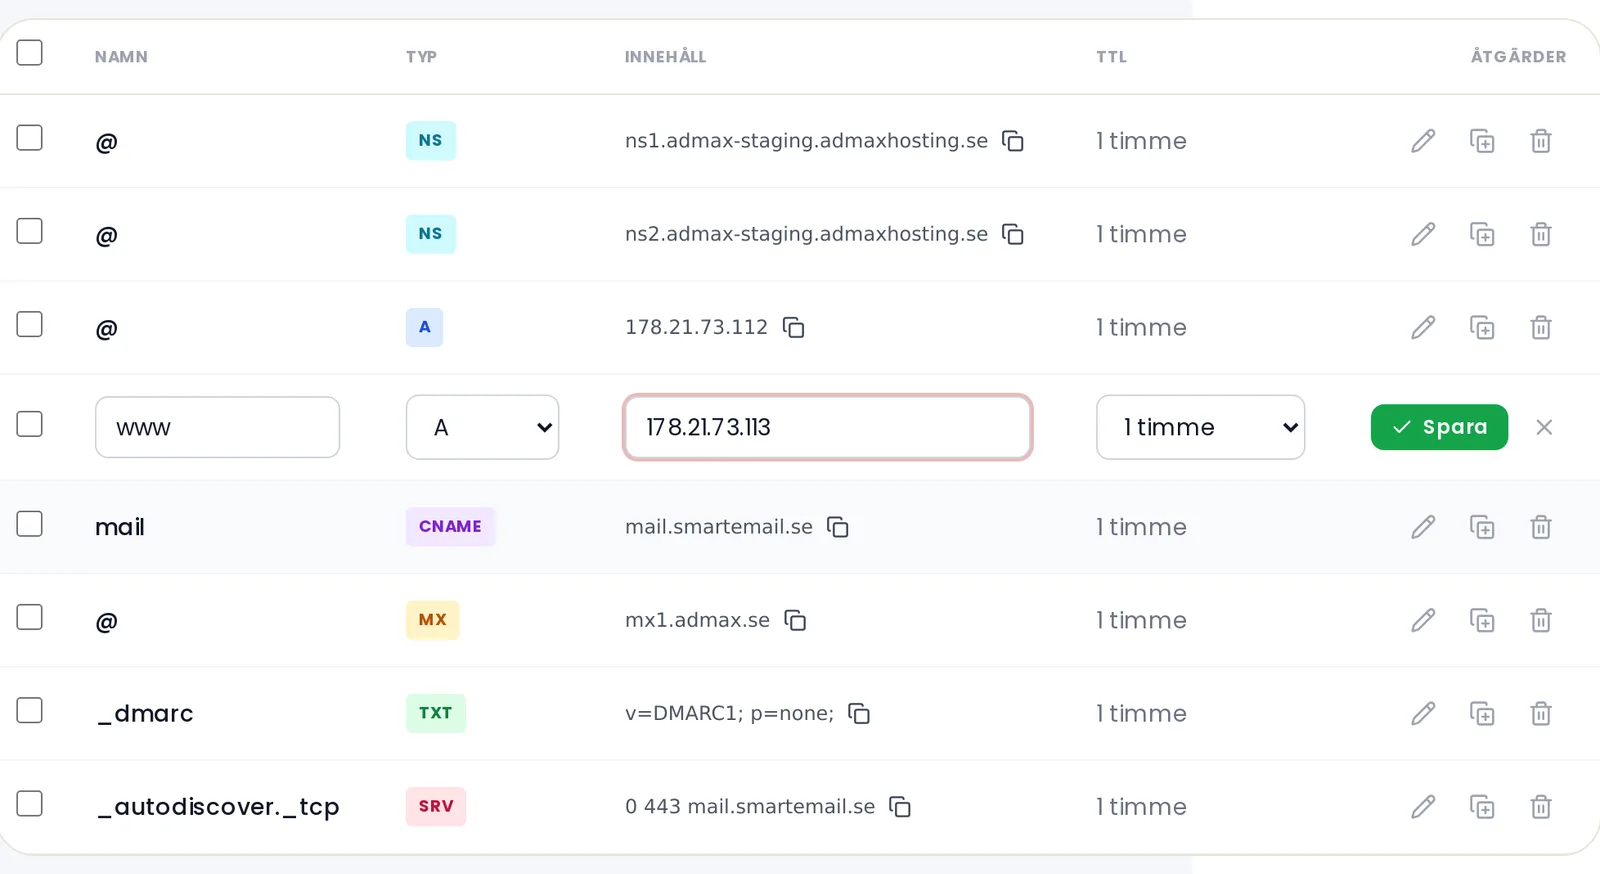
The portal validates your input as you type and warns you of any conflicts.Records are sorted by type. @ refers to the domain itself.
Editing a record
Click anywhere on the row to make it editable — the cursor will land in the field you clicked. Make your changes and press Enter or click Save. Press Esc to cancel.
Deleting a record
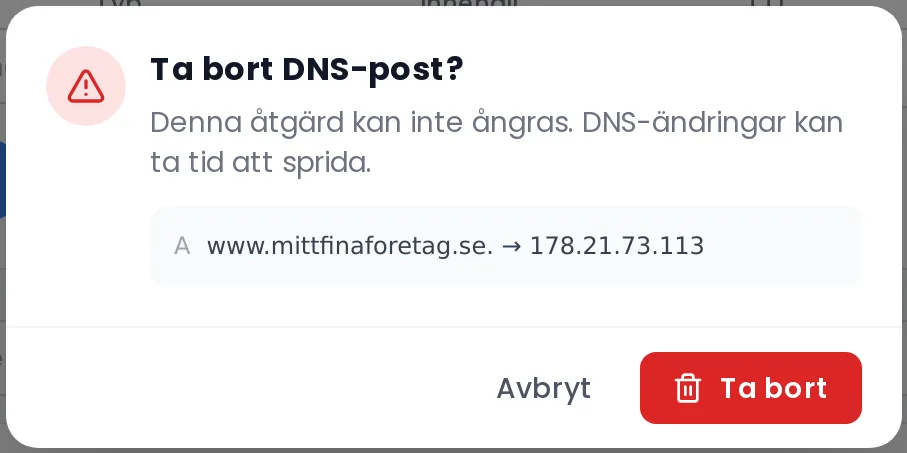
Click the bin icon on the row and confirm with Delete. If you change your mind, you have ten seconds to click Undo in the notification that appears at the bottom. To delete several records at once, tick the ones you want and click Delete selected.
The most common record types
A: maps a name to an IPv4 address, for example a web server.
TXT: text read by other services, such as SPF and verification codes, see SPF, DKIM and DMARC.
SRV: points to a service on a specific port, used by Microsoft 365 among others.
Changes take effect immediately on our end, but it can take up to 24 hours for the rest of the internet to pick them up — see How long does it take for a DNS change to propagate?. If you have received a list of records from a provider, the Domain Assistant can add them for you.