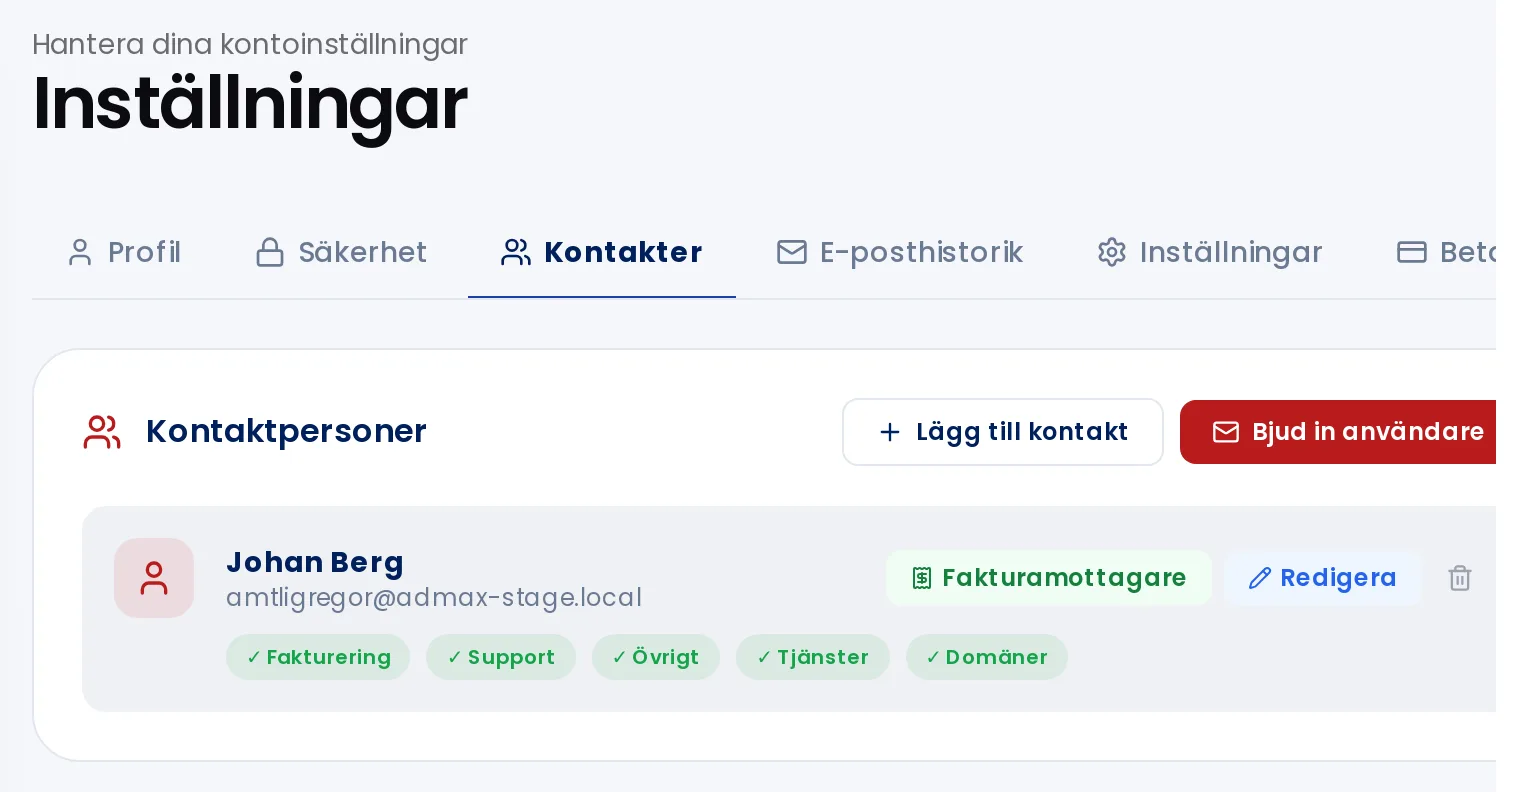
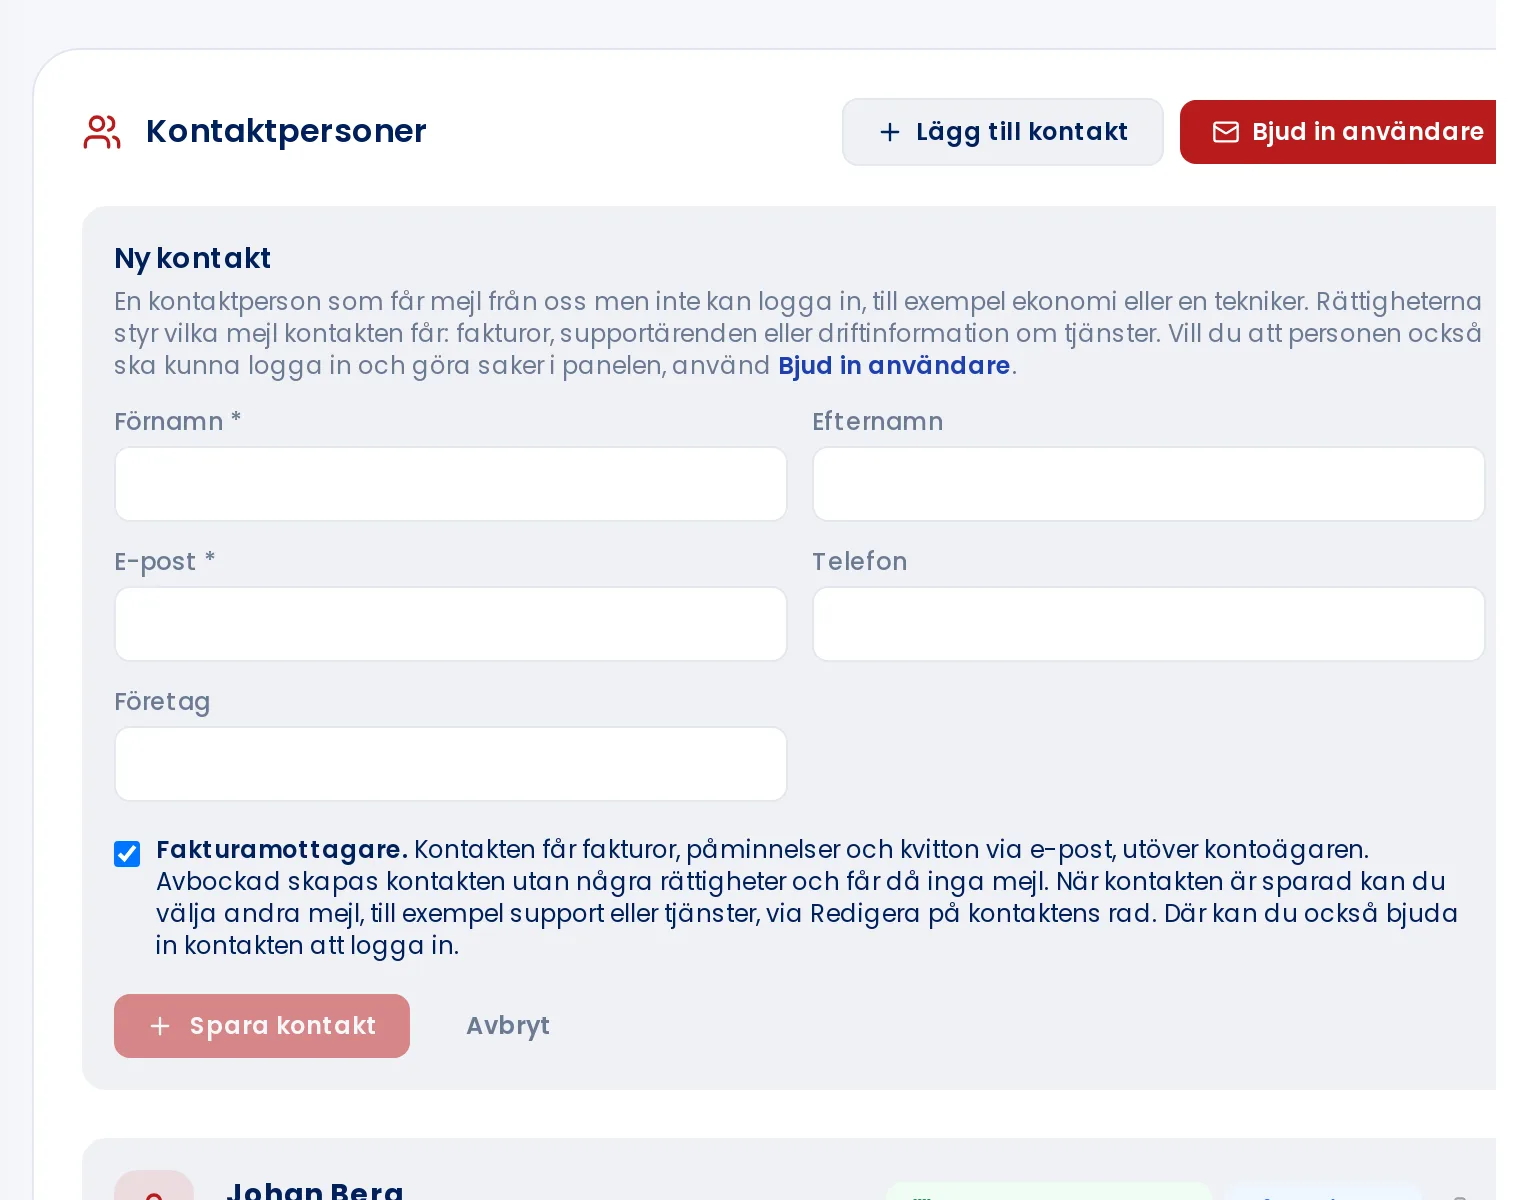
Enter a first name and email address. Last name, phone number and company are optional.
Leave the Invoice recipient box ticked if this person should receive invoices, reminders and receipts. Untick it if they should not receive any emails yet.
Click Save contact.
Editing a contact and their permissions
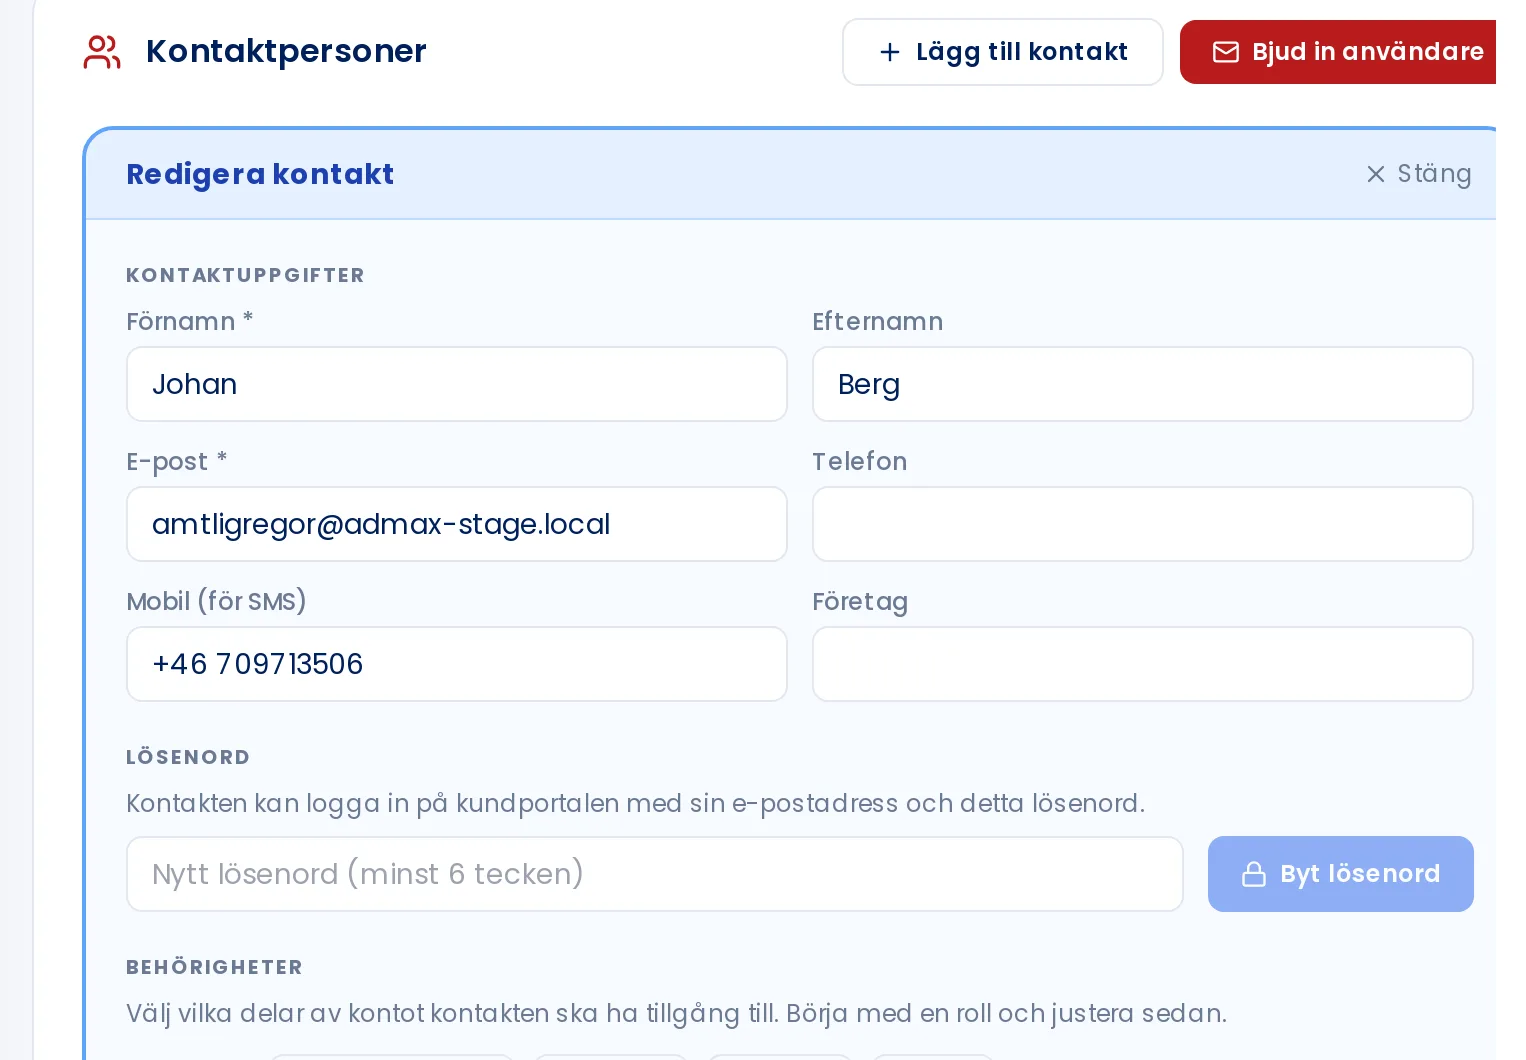
Click Edit on the contact's row.
Update the details under Contact details.
Choose what the contact should have access to under Permissions. It helps to start with a preset (Full access, Billing, Technical or None) and then adjust as needed.
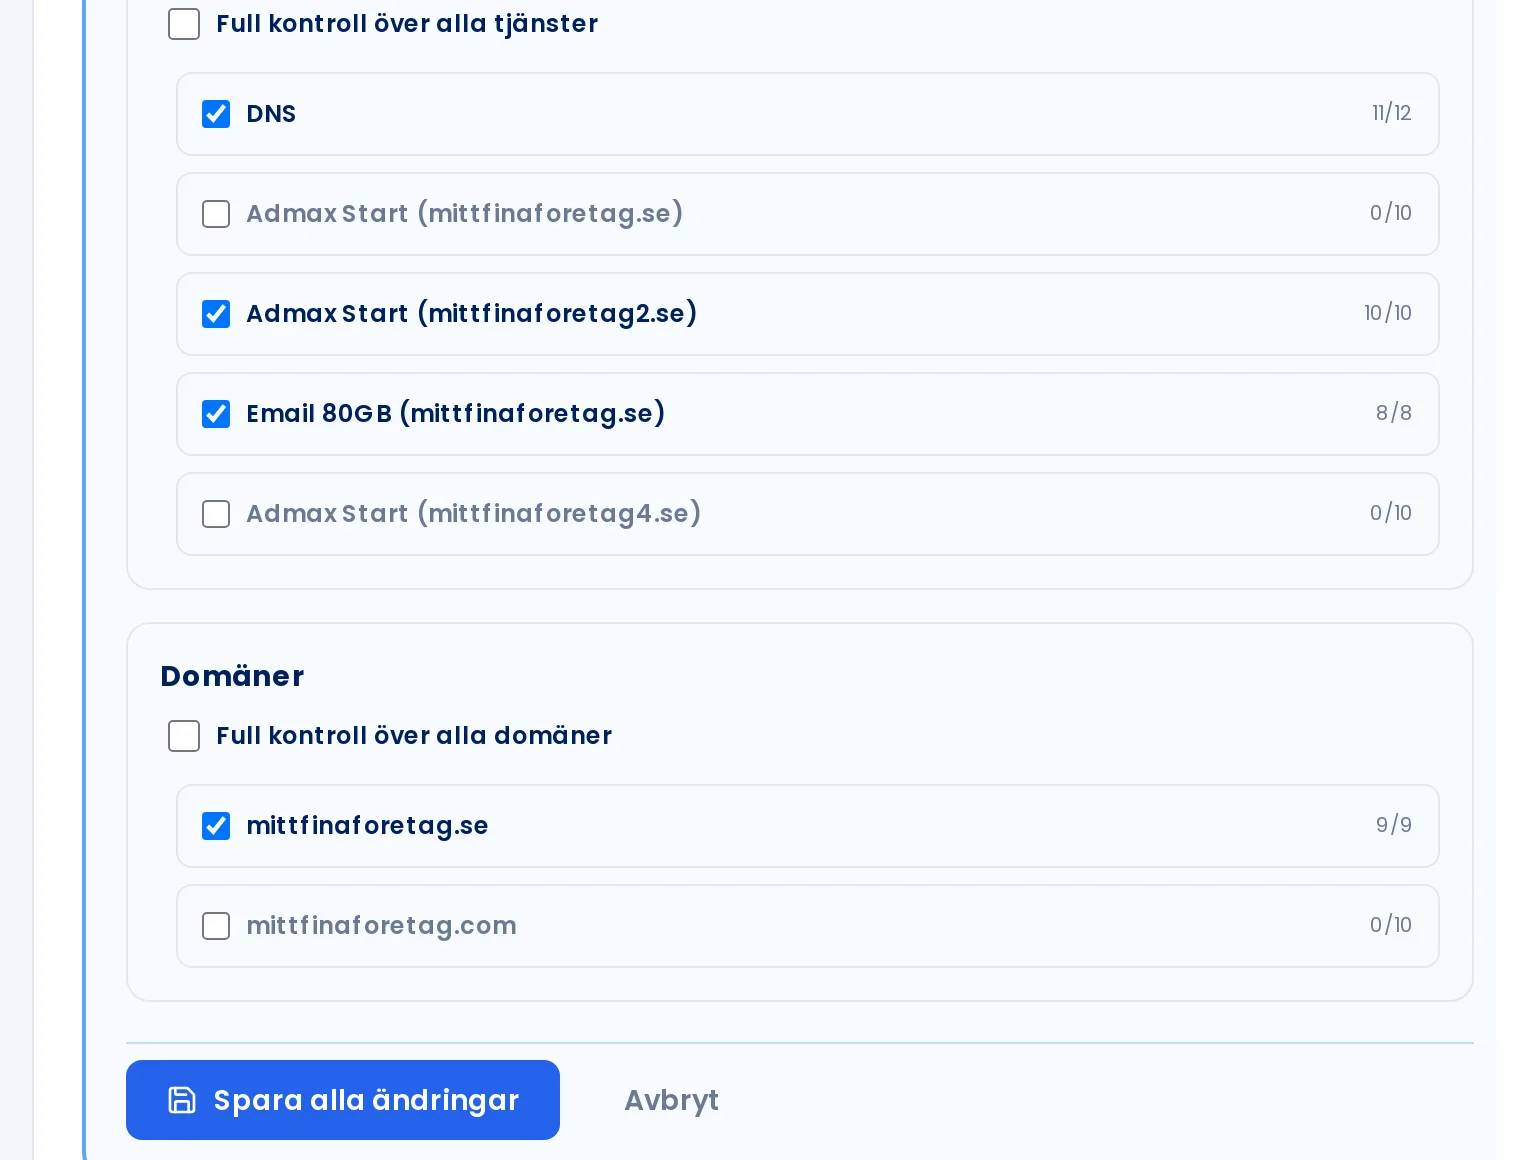
Under Services and Domains, select which services and domains the contact can view and manage.
Click Save all changes.
Permissions control what the contact can see and do in the customer portal.At the bottom you choose which services and domains the contact can see.
If you want the contact to be able to log in, set a password under Password and click Change password. The contact can then log in using their email address.
Removing a contact
Click the bin icon on the contact's row. The contact is removed immediately, with no confirmation prompt, and this cannot be undone.
The Invoice recipient button on the contact's row toggles whether the contact receives invoices. The change is saved as soon as you click.